Crafters big and small will delight in making Wooden Toy Soldier Ornaments with craft sticks, paint, and one extra unique craft material. Read on for the full tutorial!
This post contains affiliate links. Opinions are my own.
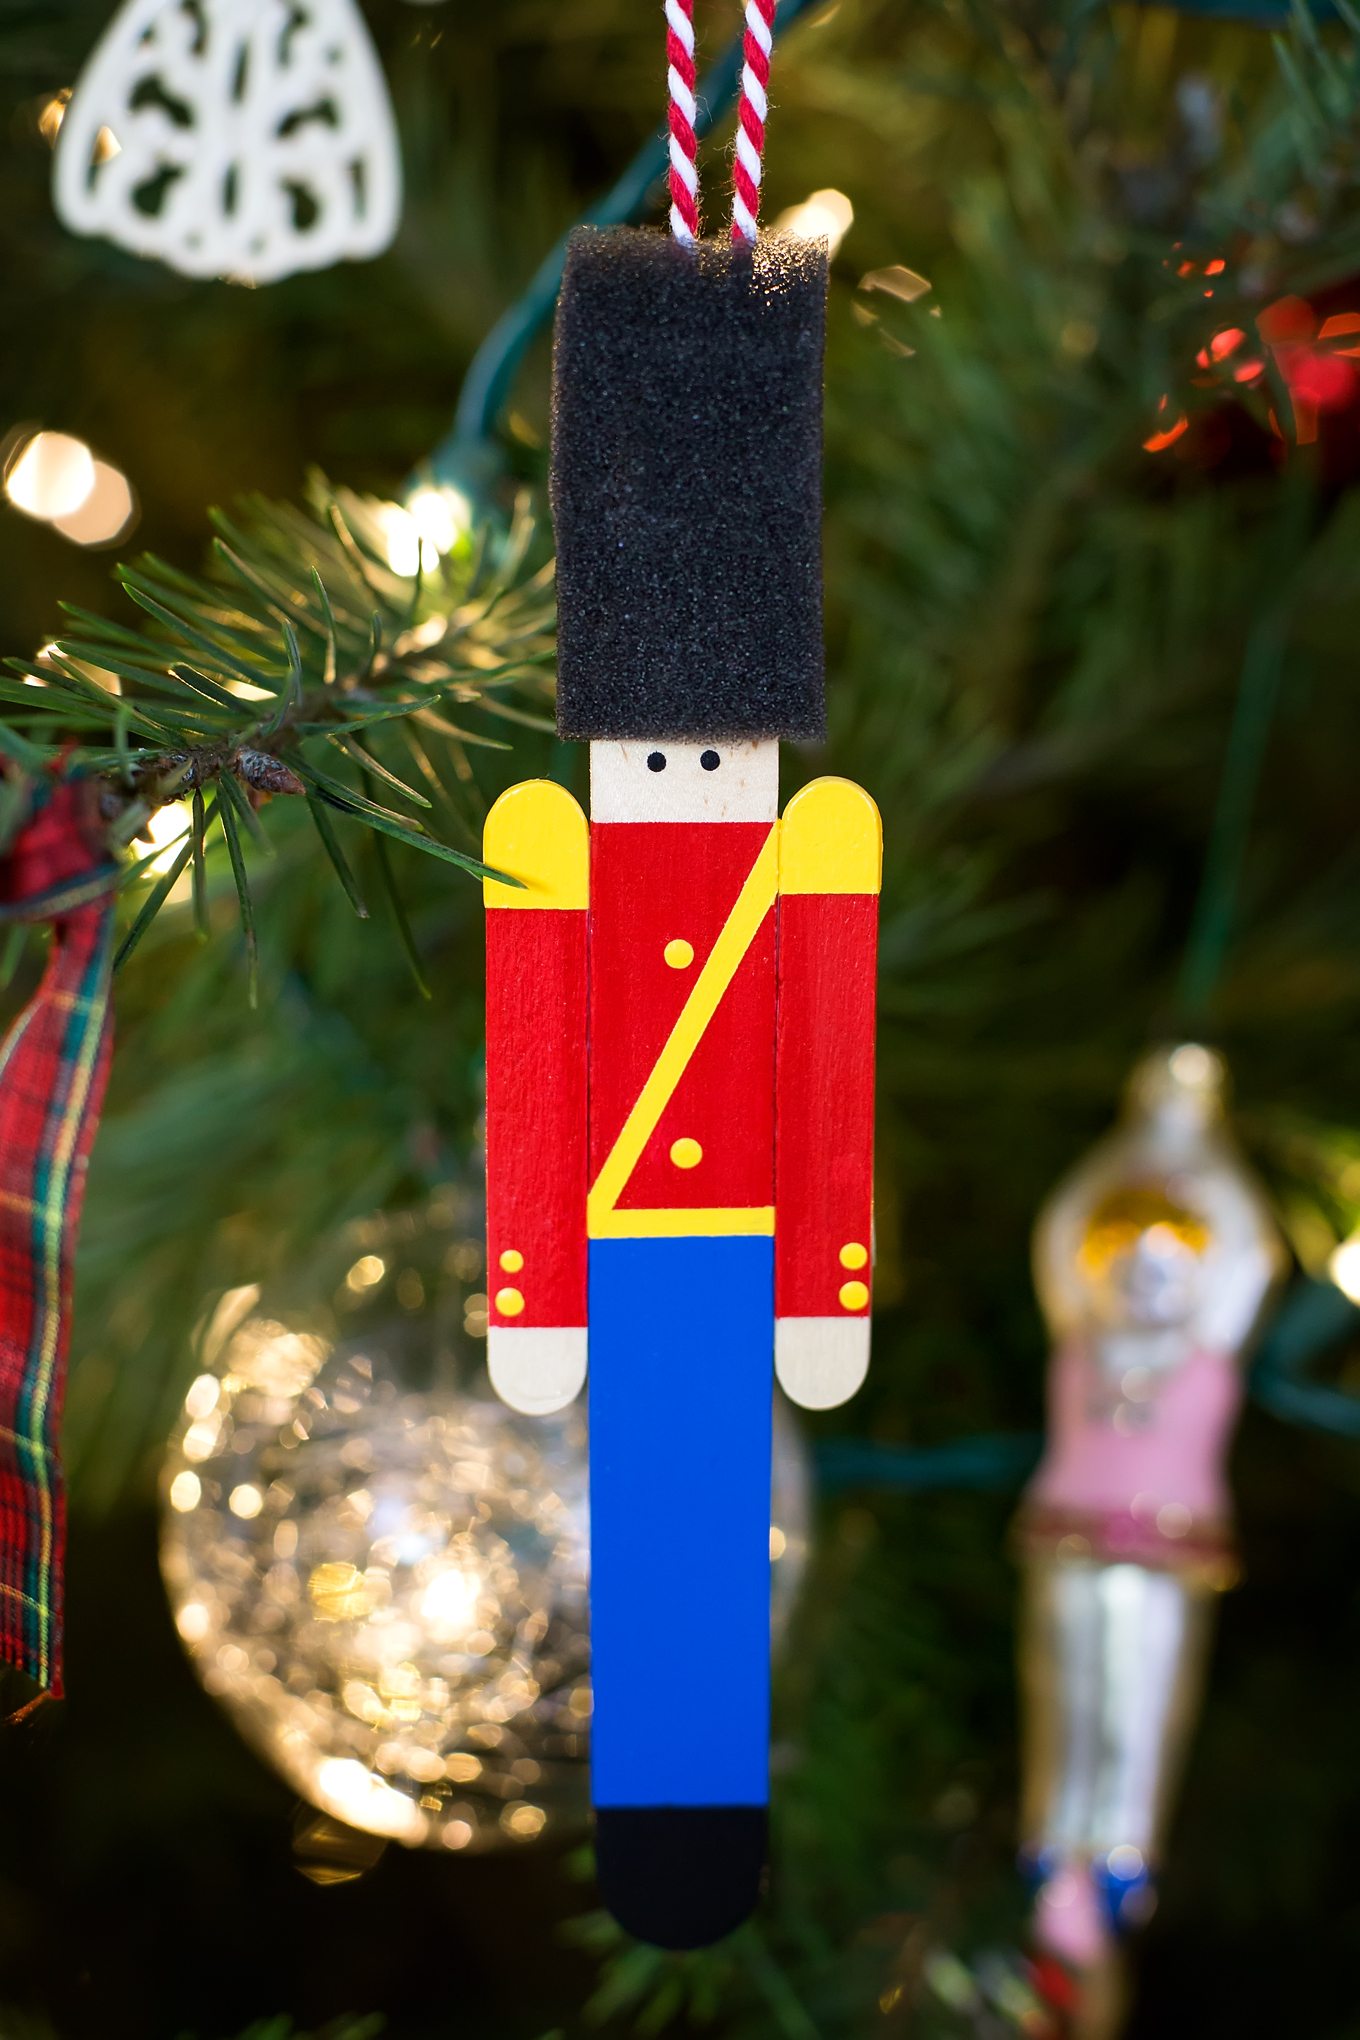
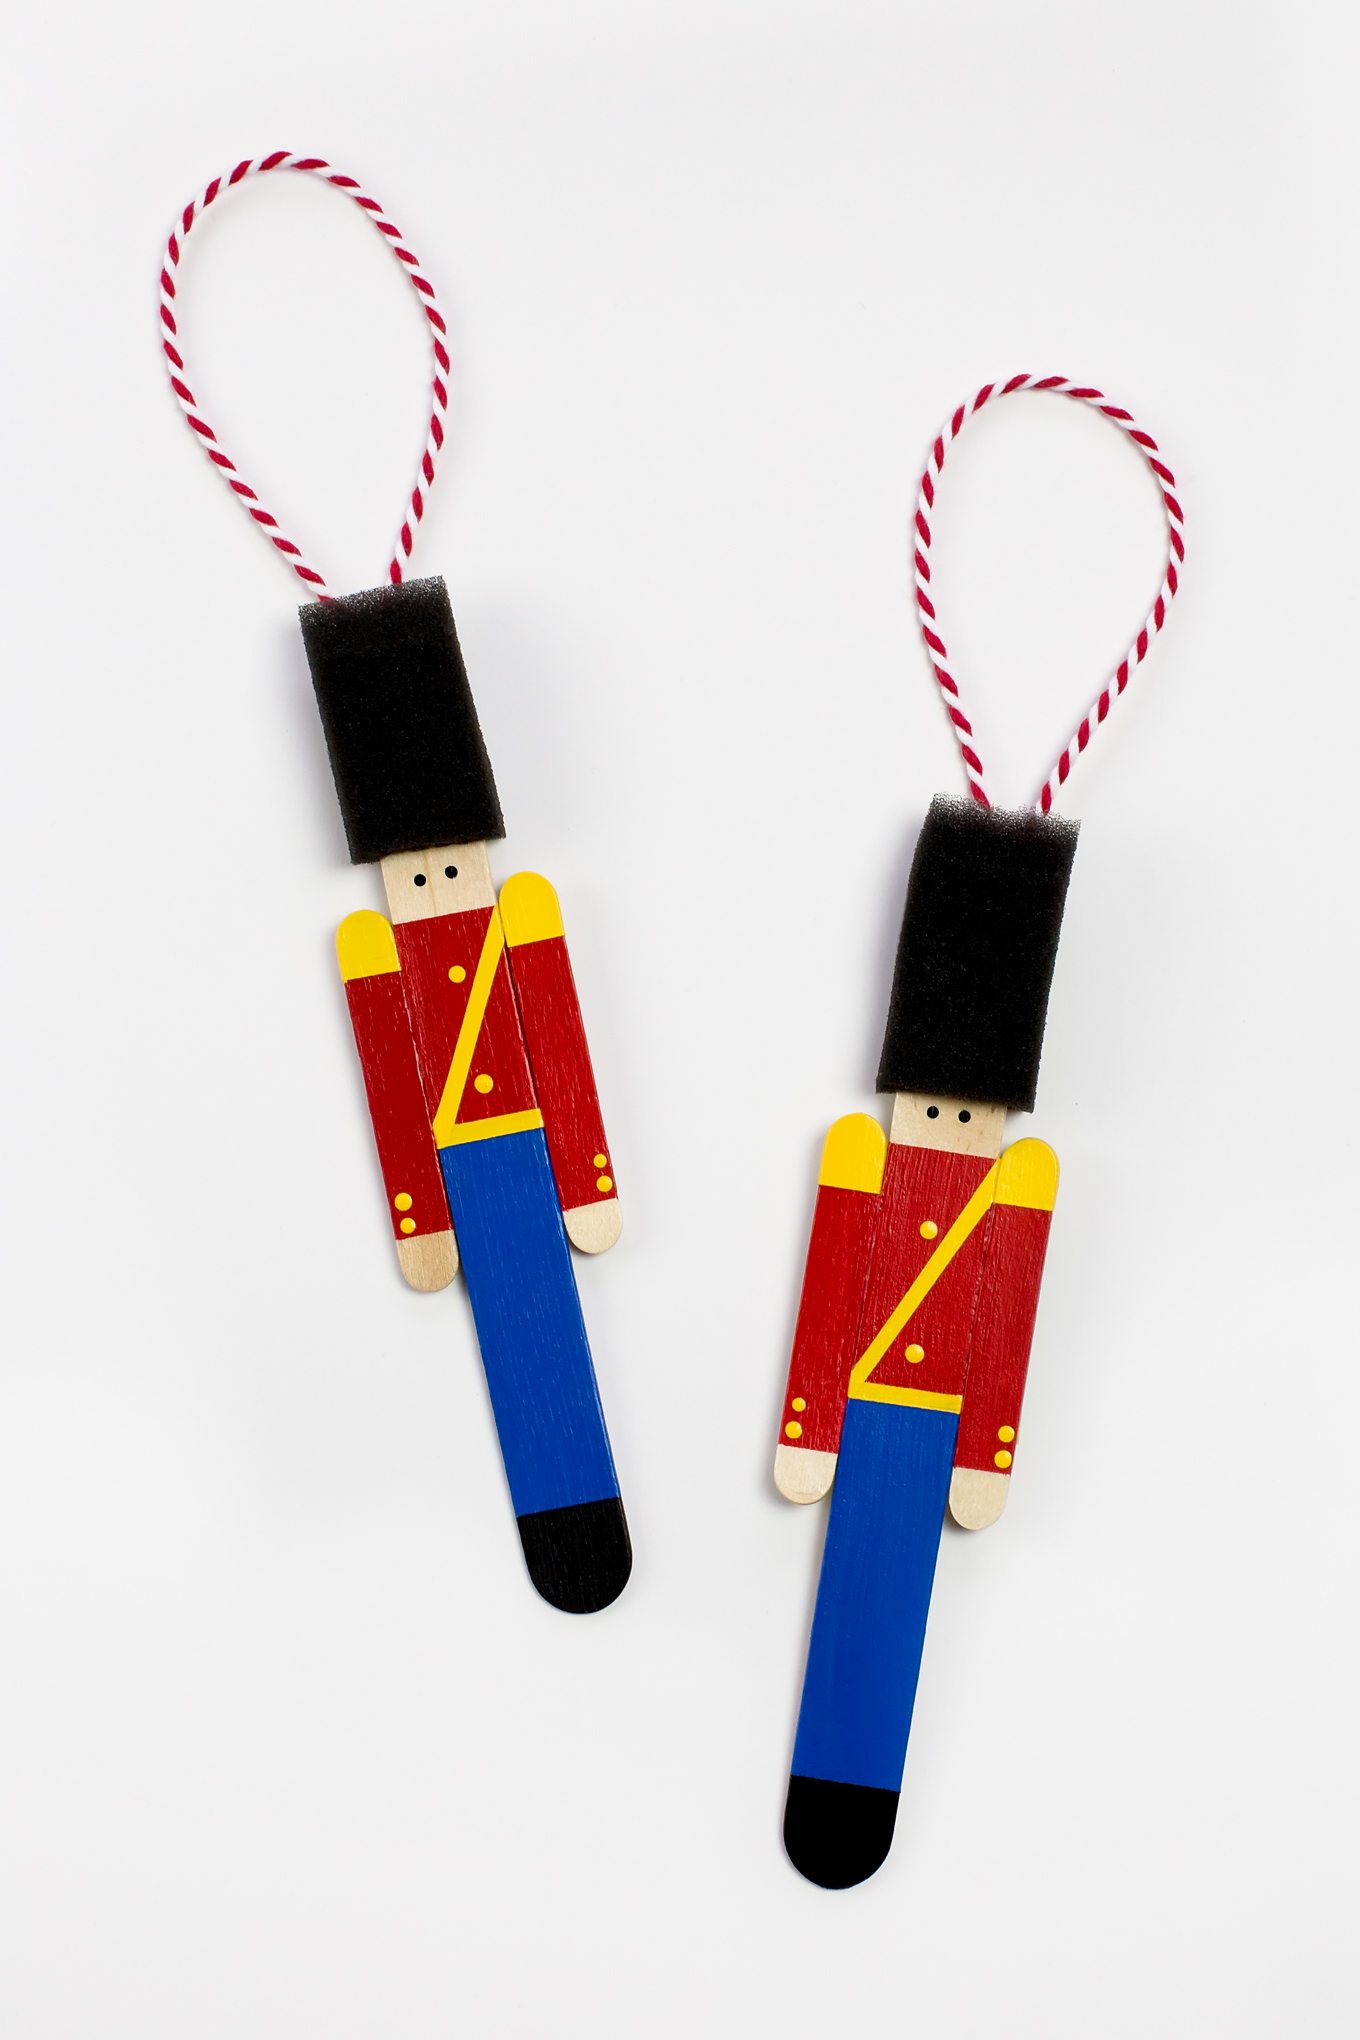
WOODEN TOY SOLDIER ORNAMENT
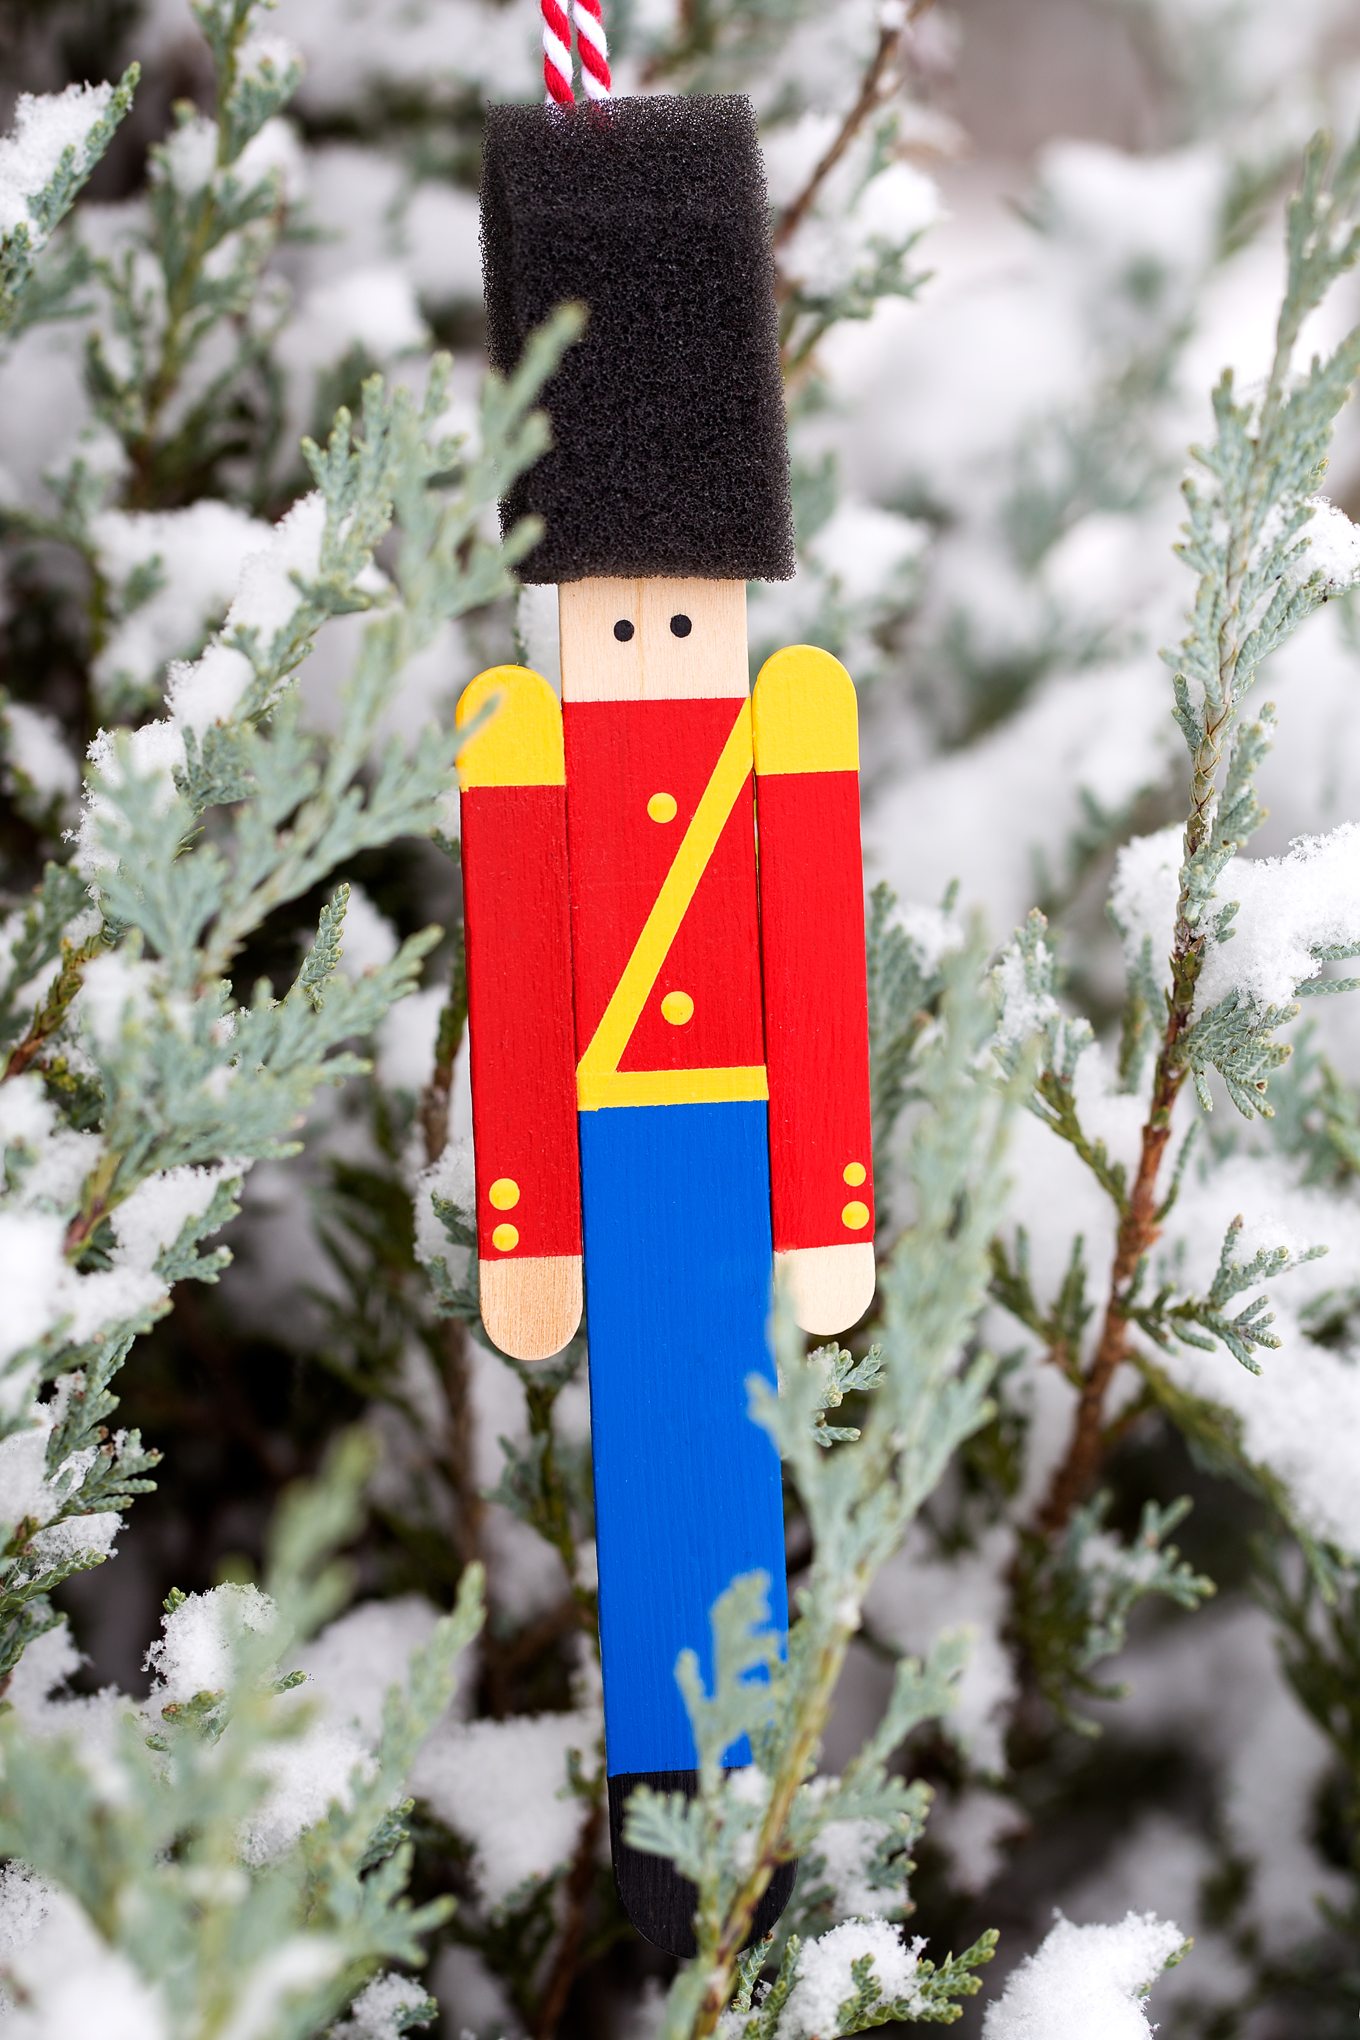
Do you hear what I hear? It’s the happy sound of children cheering for winter break! There may be a teacher or two joining the chorus, but it’s mostly the joyful song of children anticipating Christmas. This morning, the boys and I settled around our kitchen table to watch snow fall through our window and to create some last-minute Christmas ornaments. Our Toy Soldier Ornaments are colorful, simple, and quite festive. We hope you like them just as much as we do!
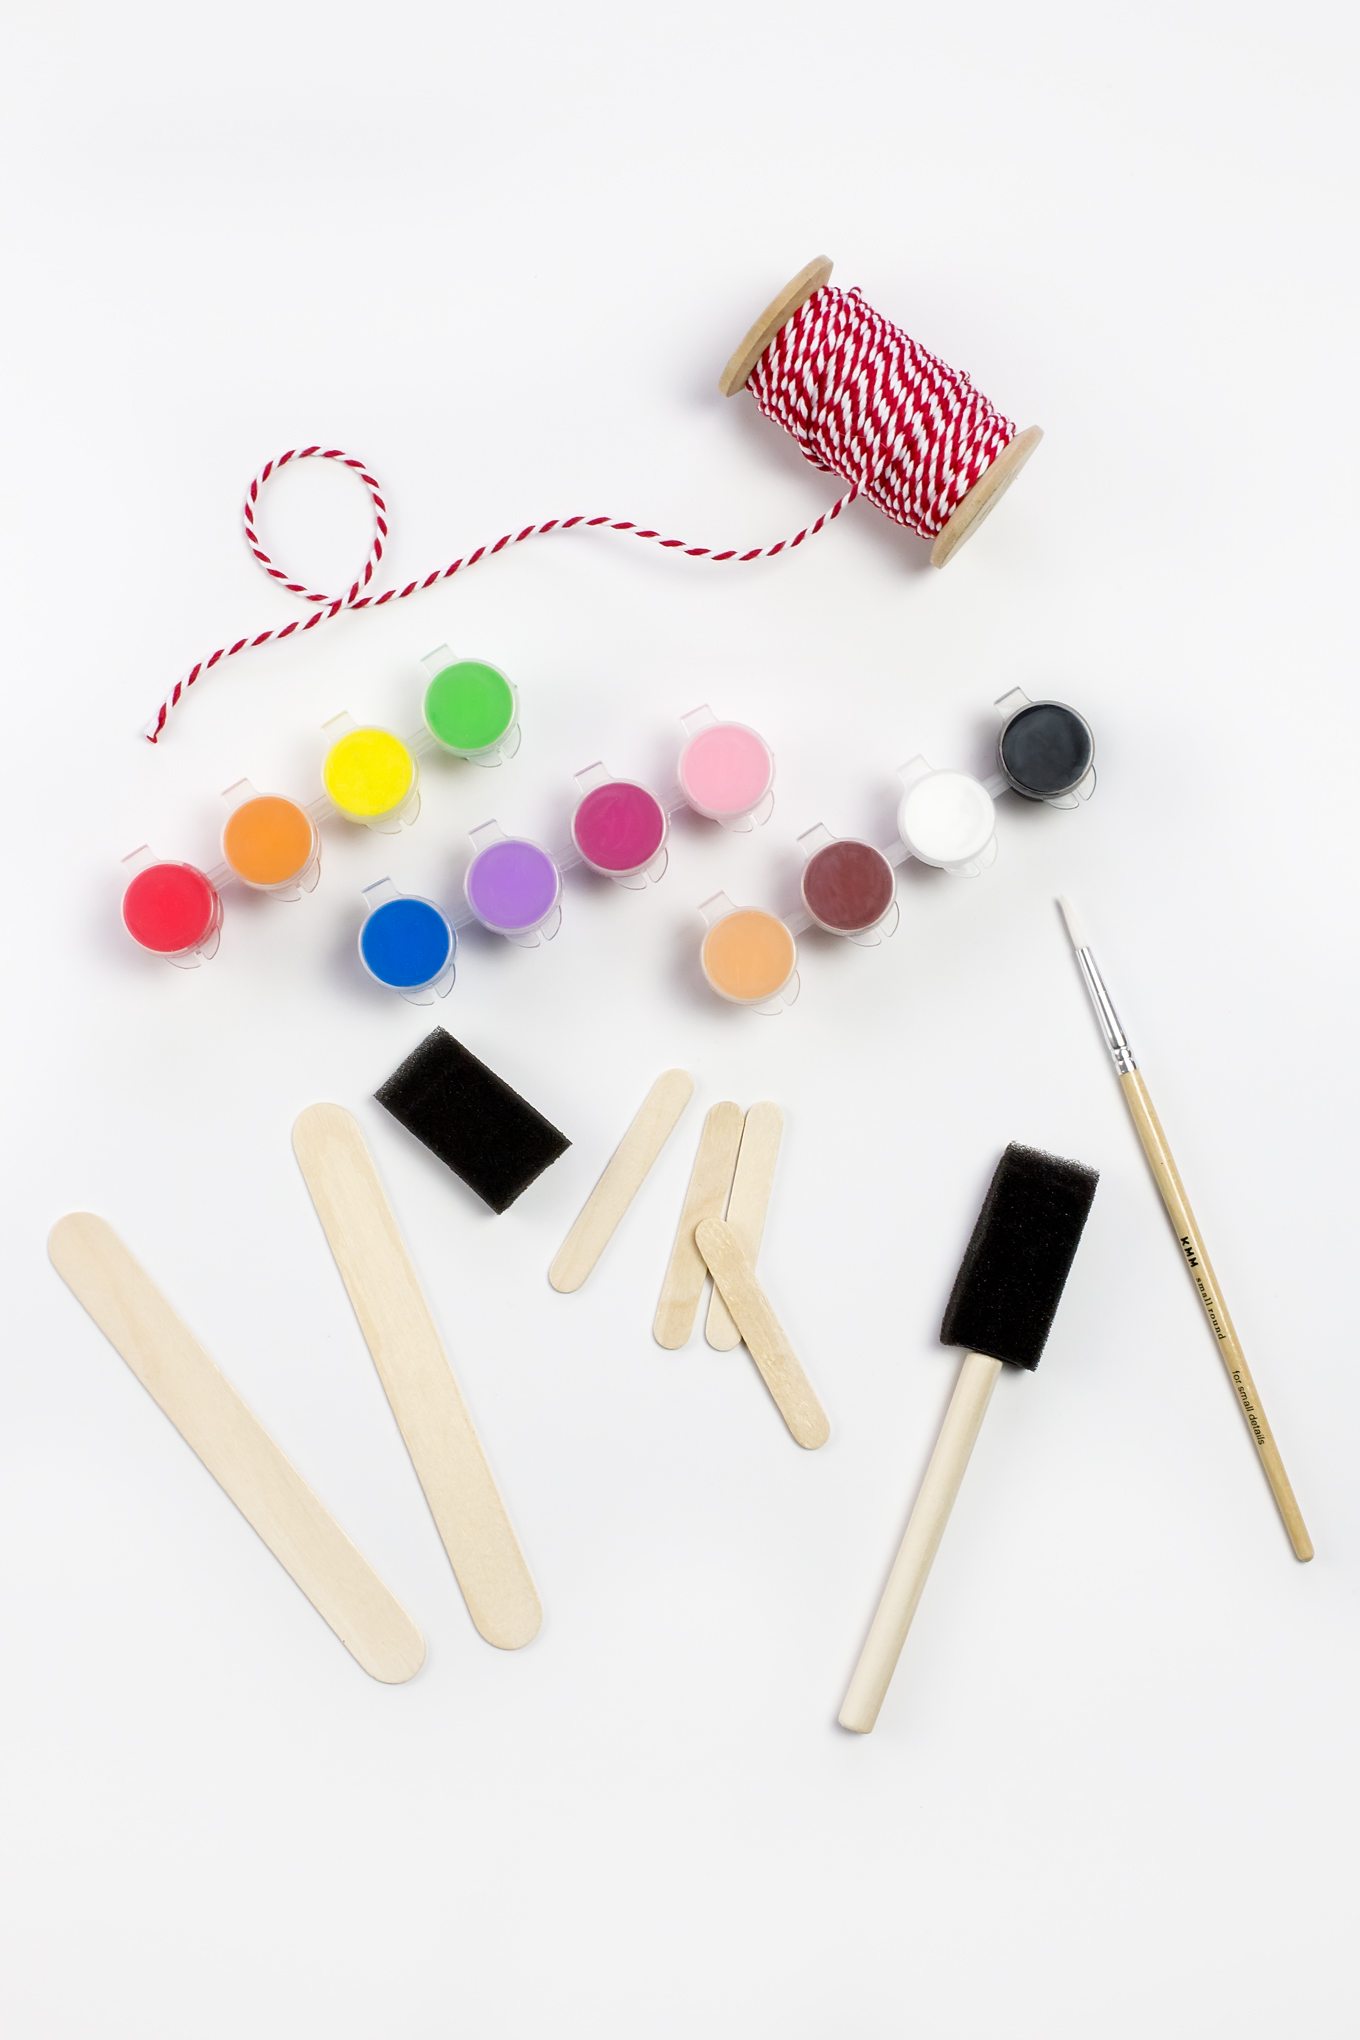
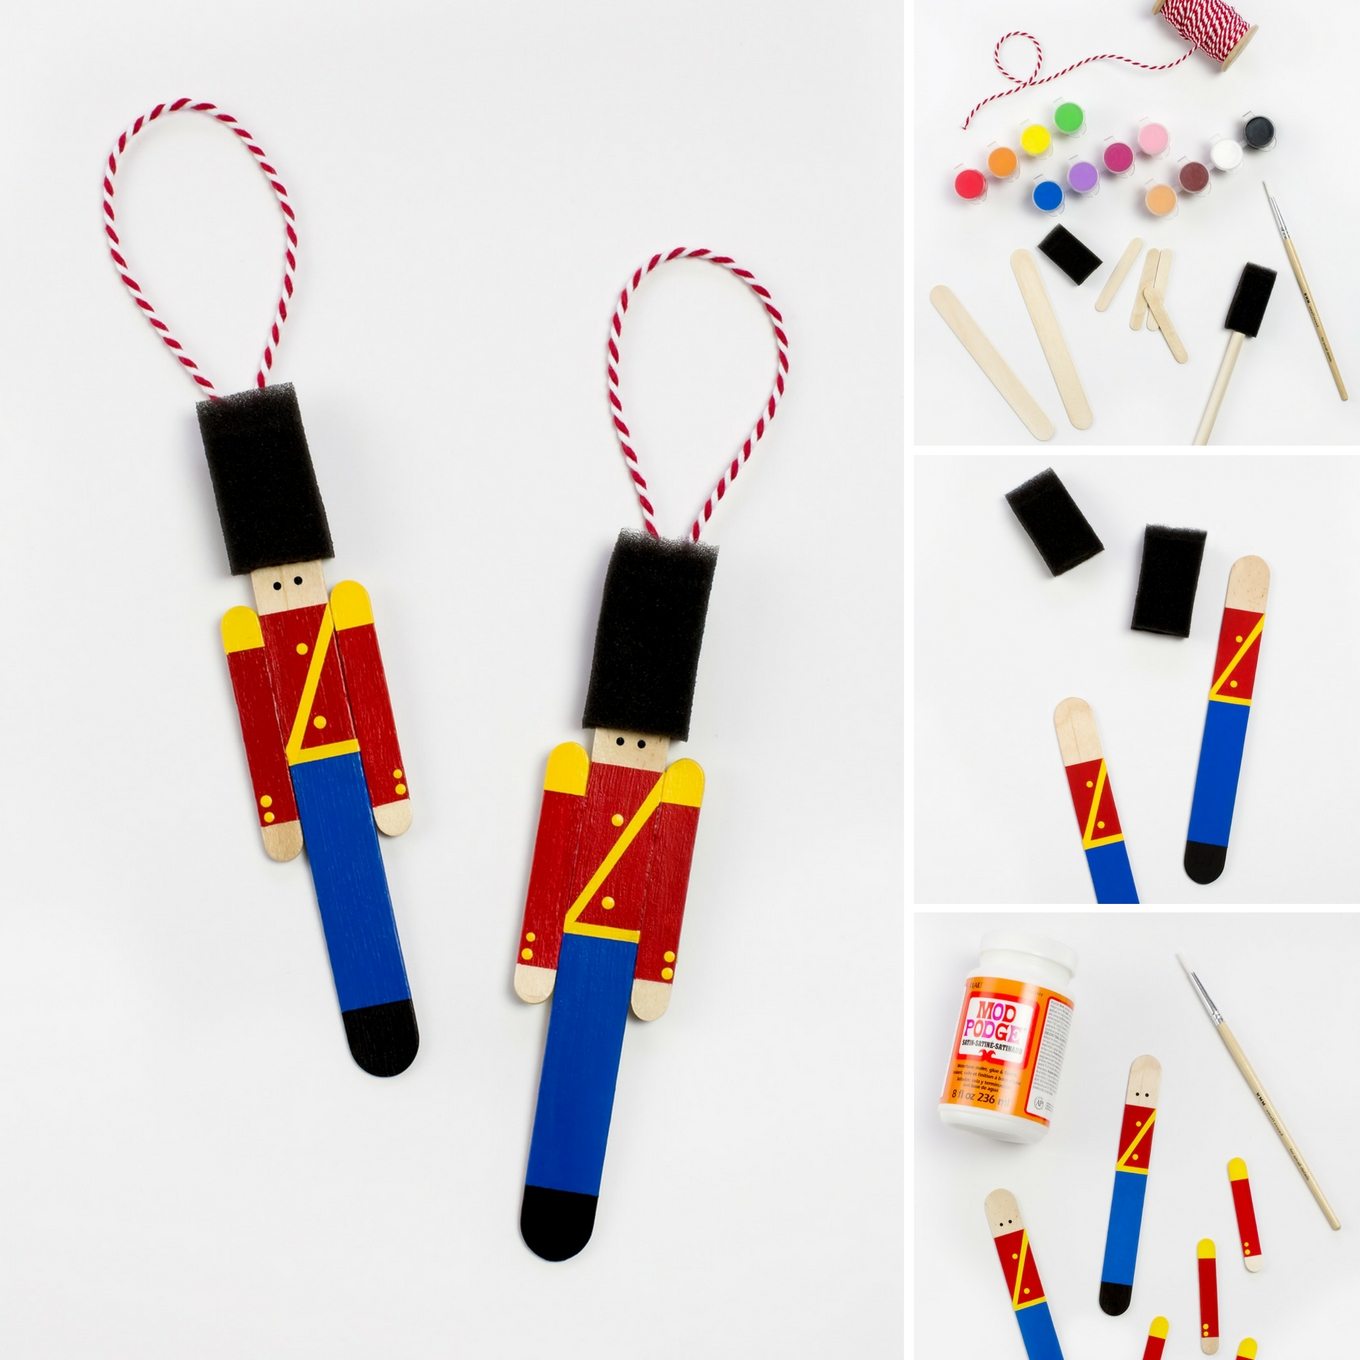
To make this craft you will need:
- Jumbo craft sticks
- Mini craft sticks
- Red, yellow, blue, and black acrylic paint
- Foam brushes with the sponge tip and plastic insert removed
- Satin Mod Podge
- White glue
- Hot glue
- Twine
- Paintbrushes
DIRECTIONS
After gathering supplies, invite kids to use the blue, red, and yellow paint to make a toy soldier uniform on the wide craft sticks. I used washi tape to create straight, clean lines…but that step isn’t absolutely necessary. Use the end of a paint brush dipped in yellow paint to make buttons for the soldier’s uniform.
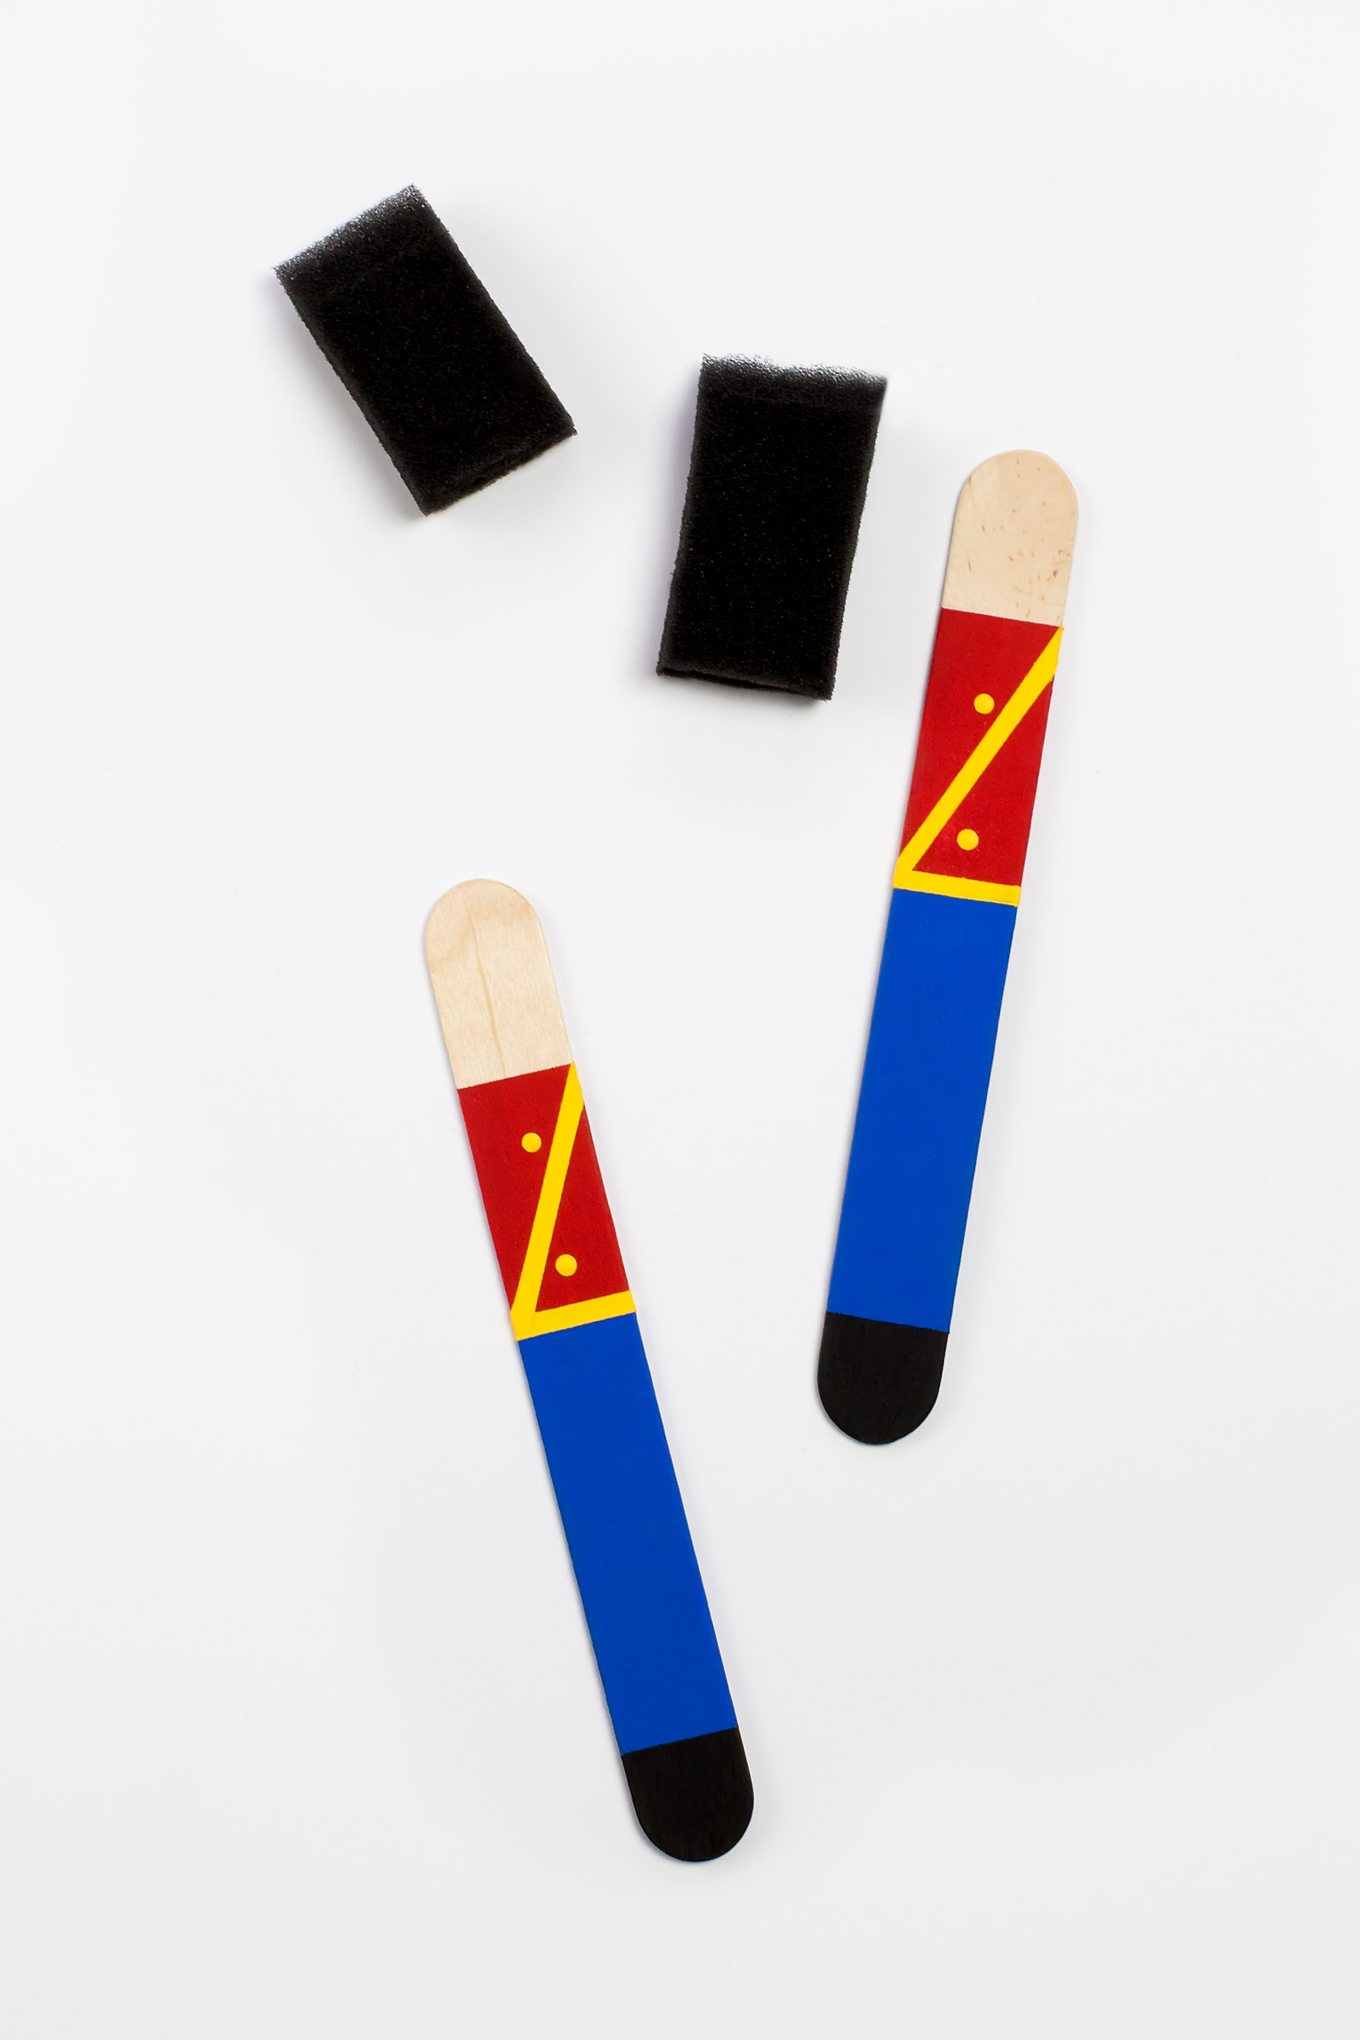
Use red and yellow paint and mini craft sticks to create arms for the toy soldier ornaments. Dip the end of a small paintbrush into black paint to make eyes for the soldier ornaments. When all of the painted pieces are dry, seal the ornaments with Mod Podge.
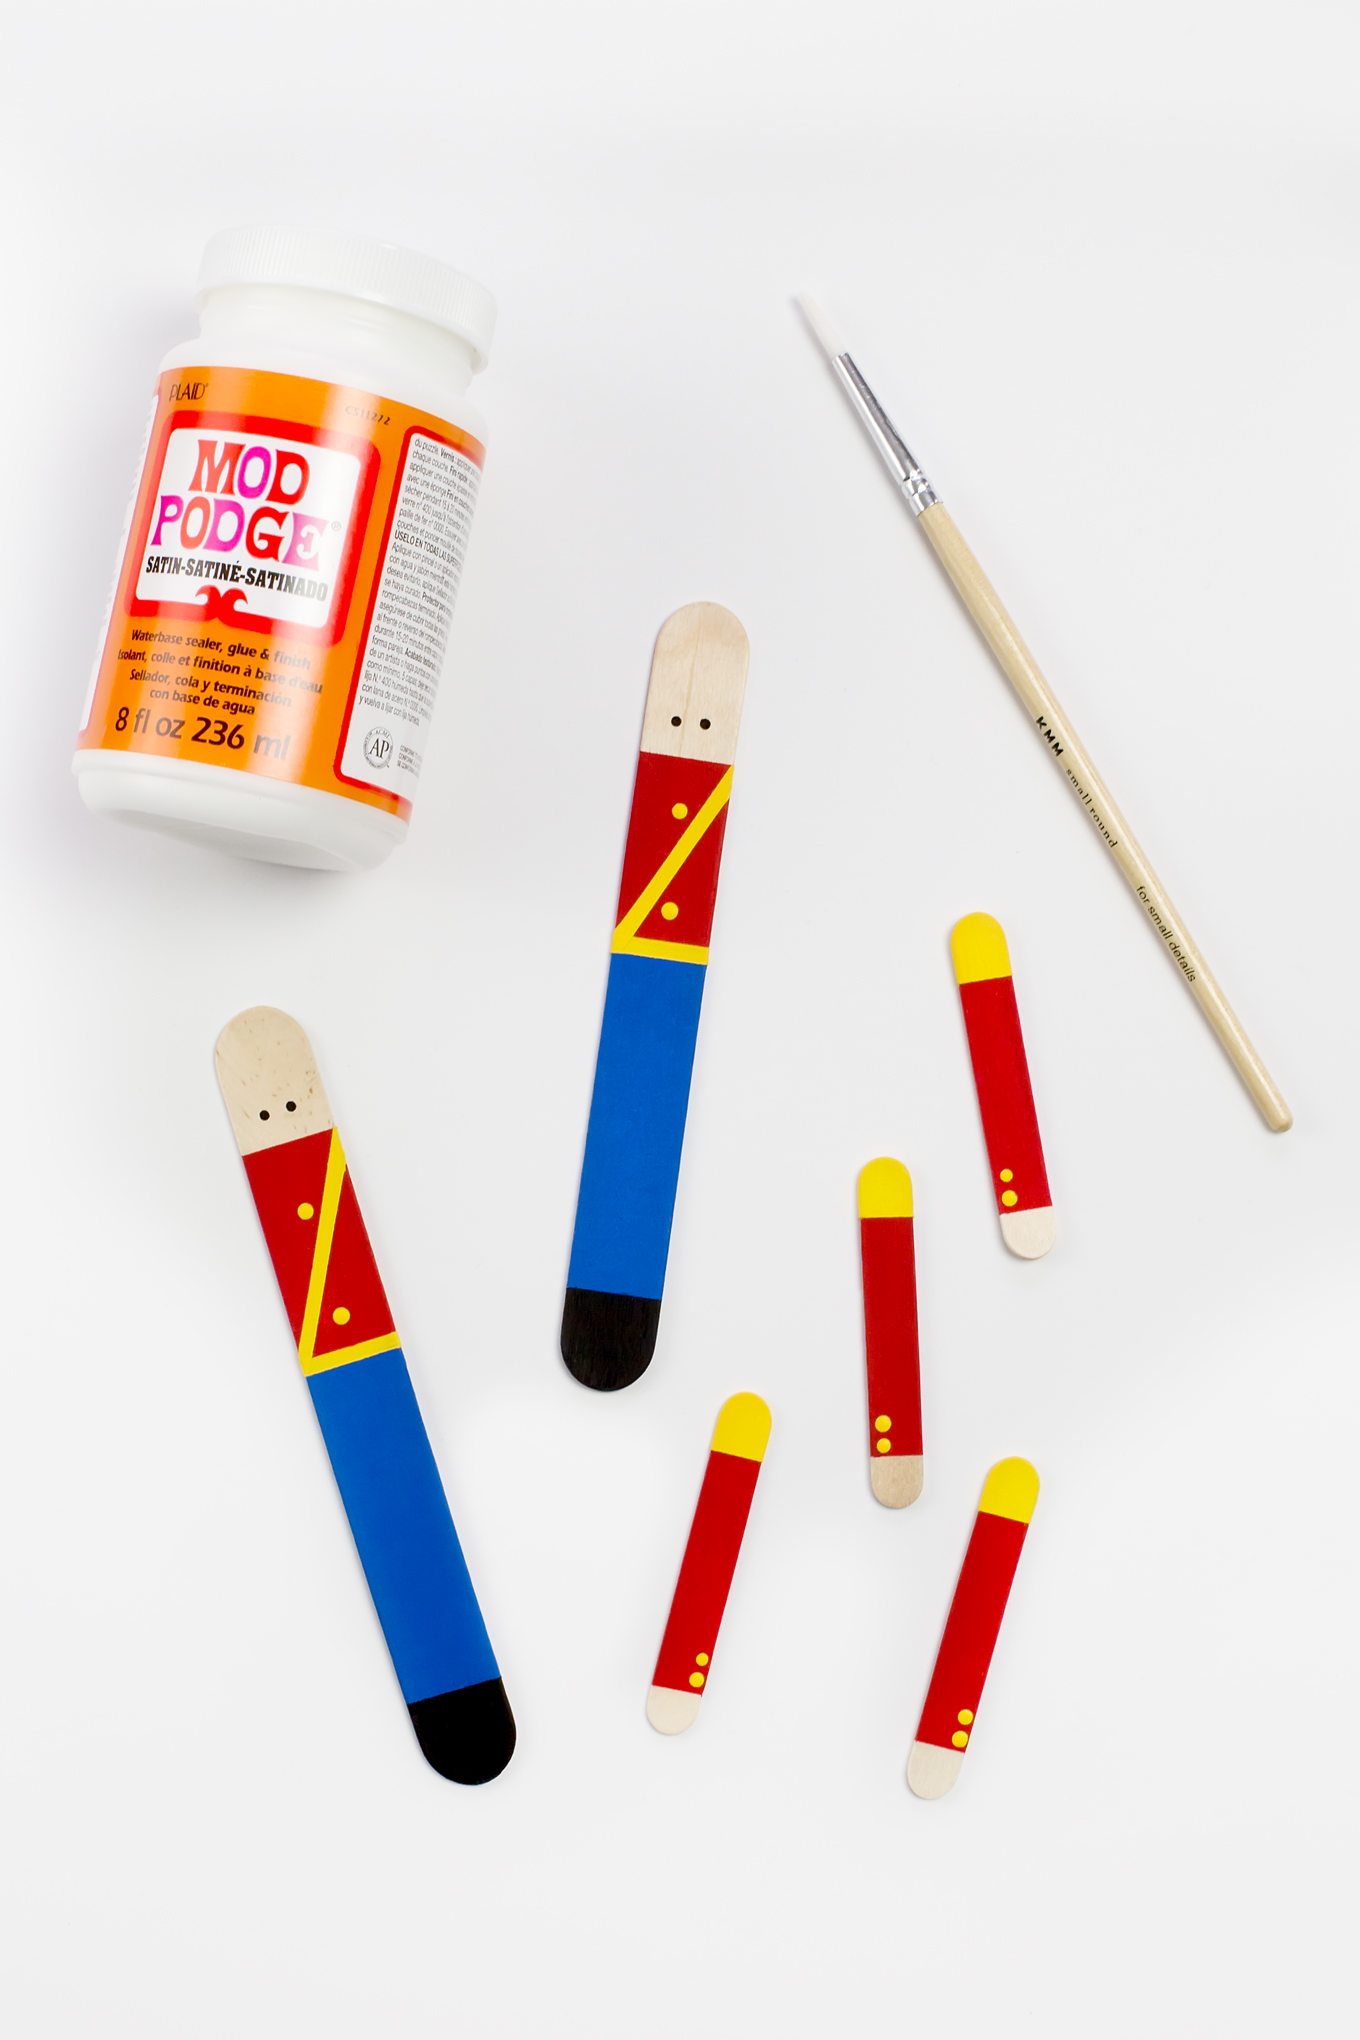
Glue all of the ornament pieces together with Mod Podge.
I secured the body and arms on the back with a small piece of washi tape in addition to the Mod Podge.
Squeeze a small drop of glue inside of the sponge tip, then slide the sponge onto the toy soldier’s head.
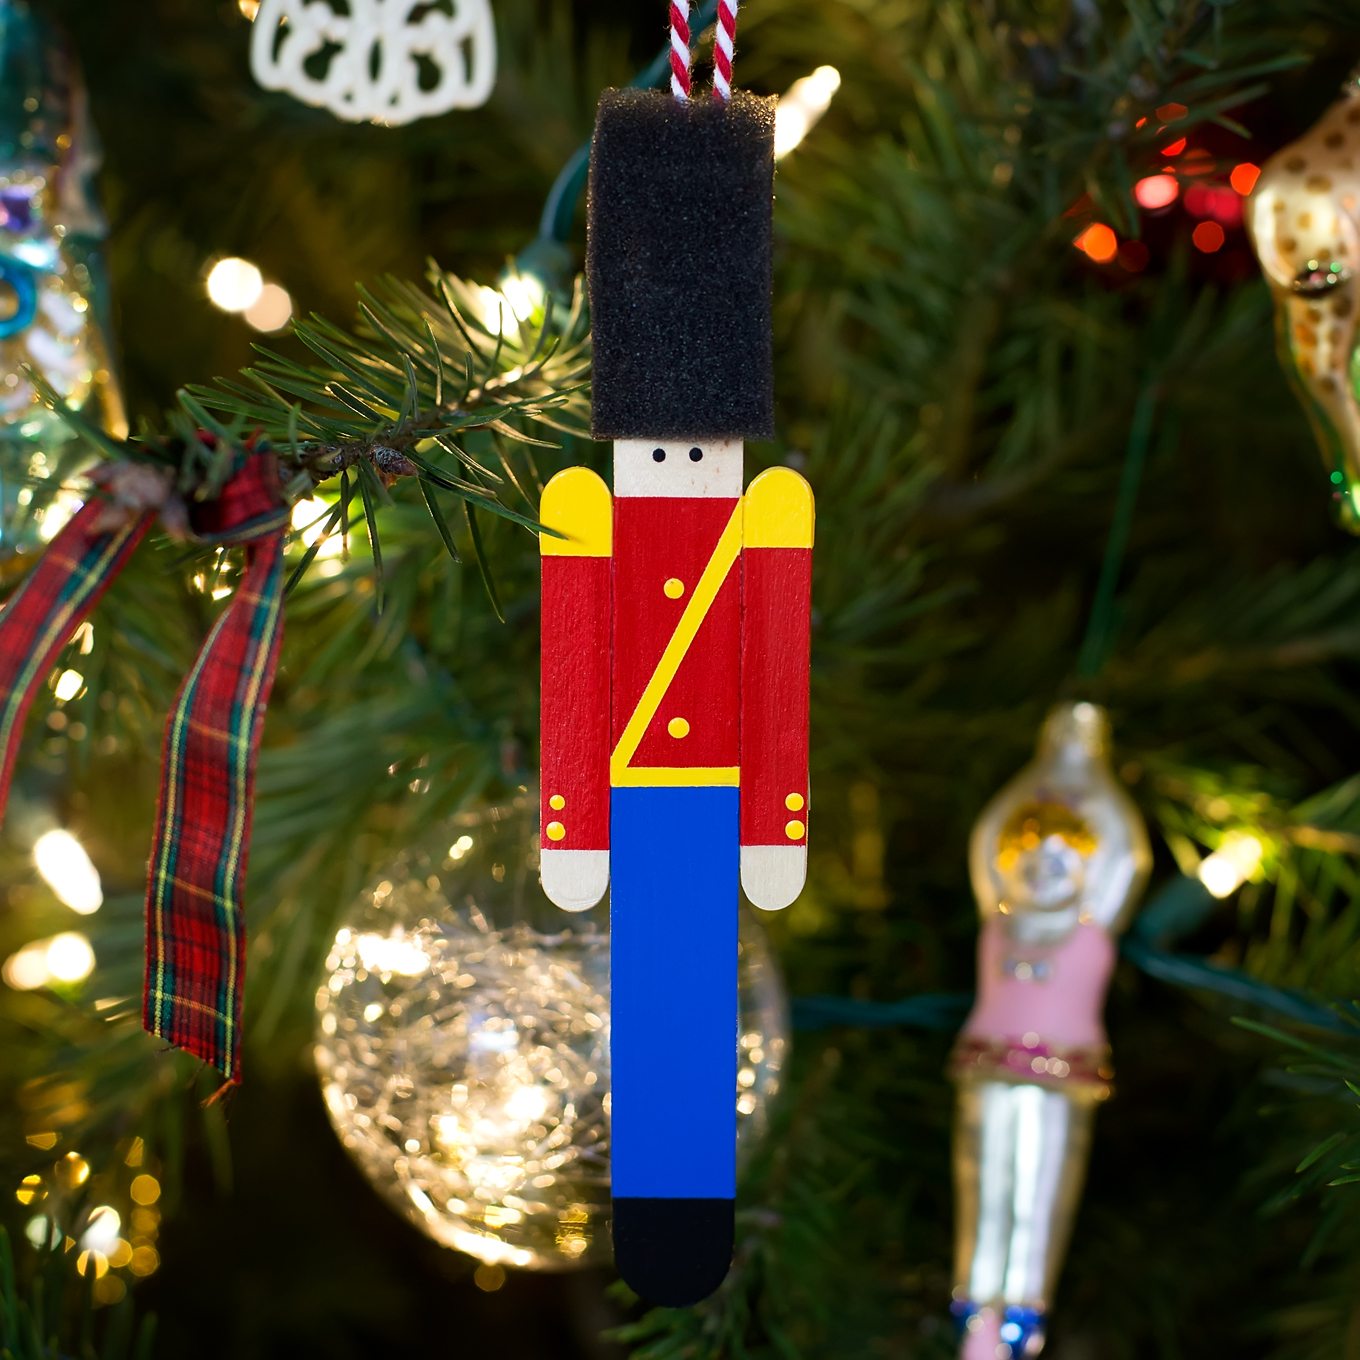
Last, attach a loop of twine to the back of the ornament using the hot glue. Hang and enjoy!


EmoticonEmoticon